
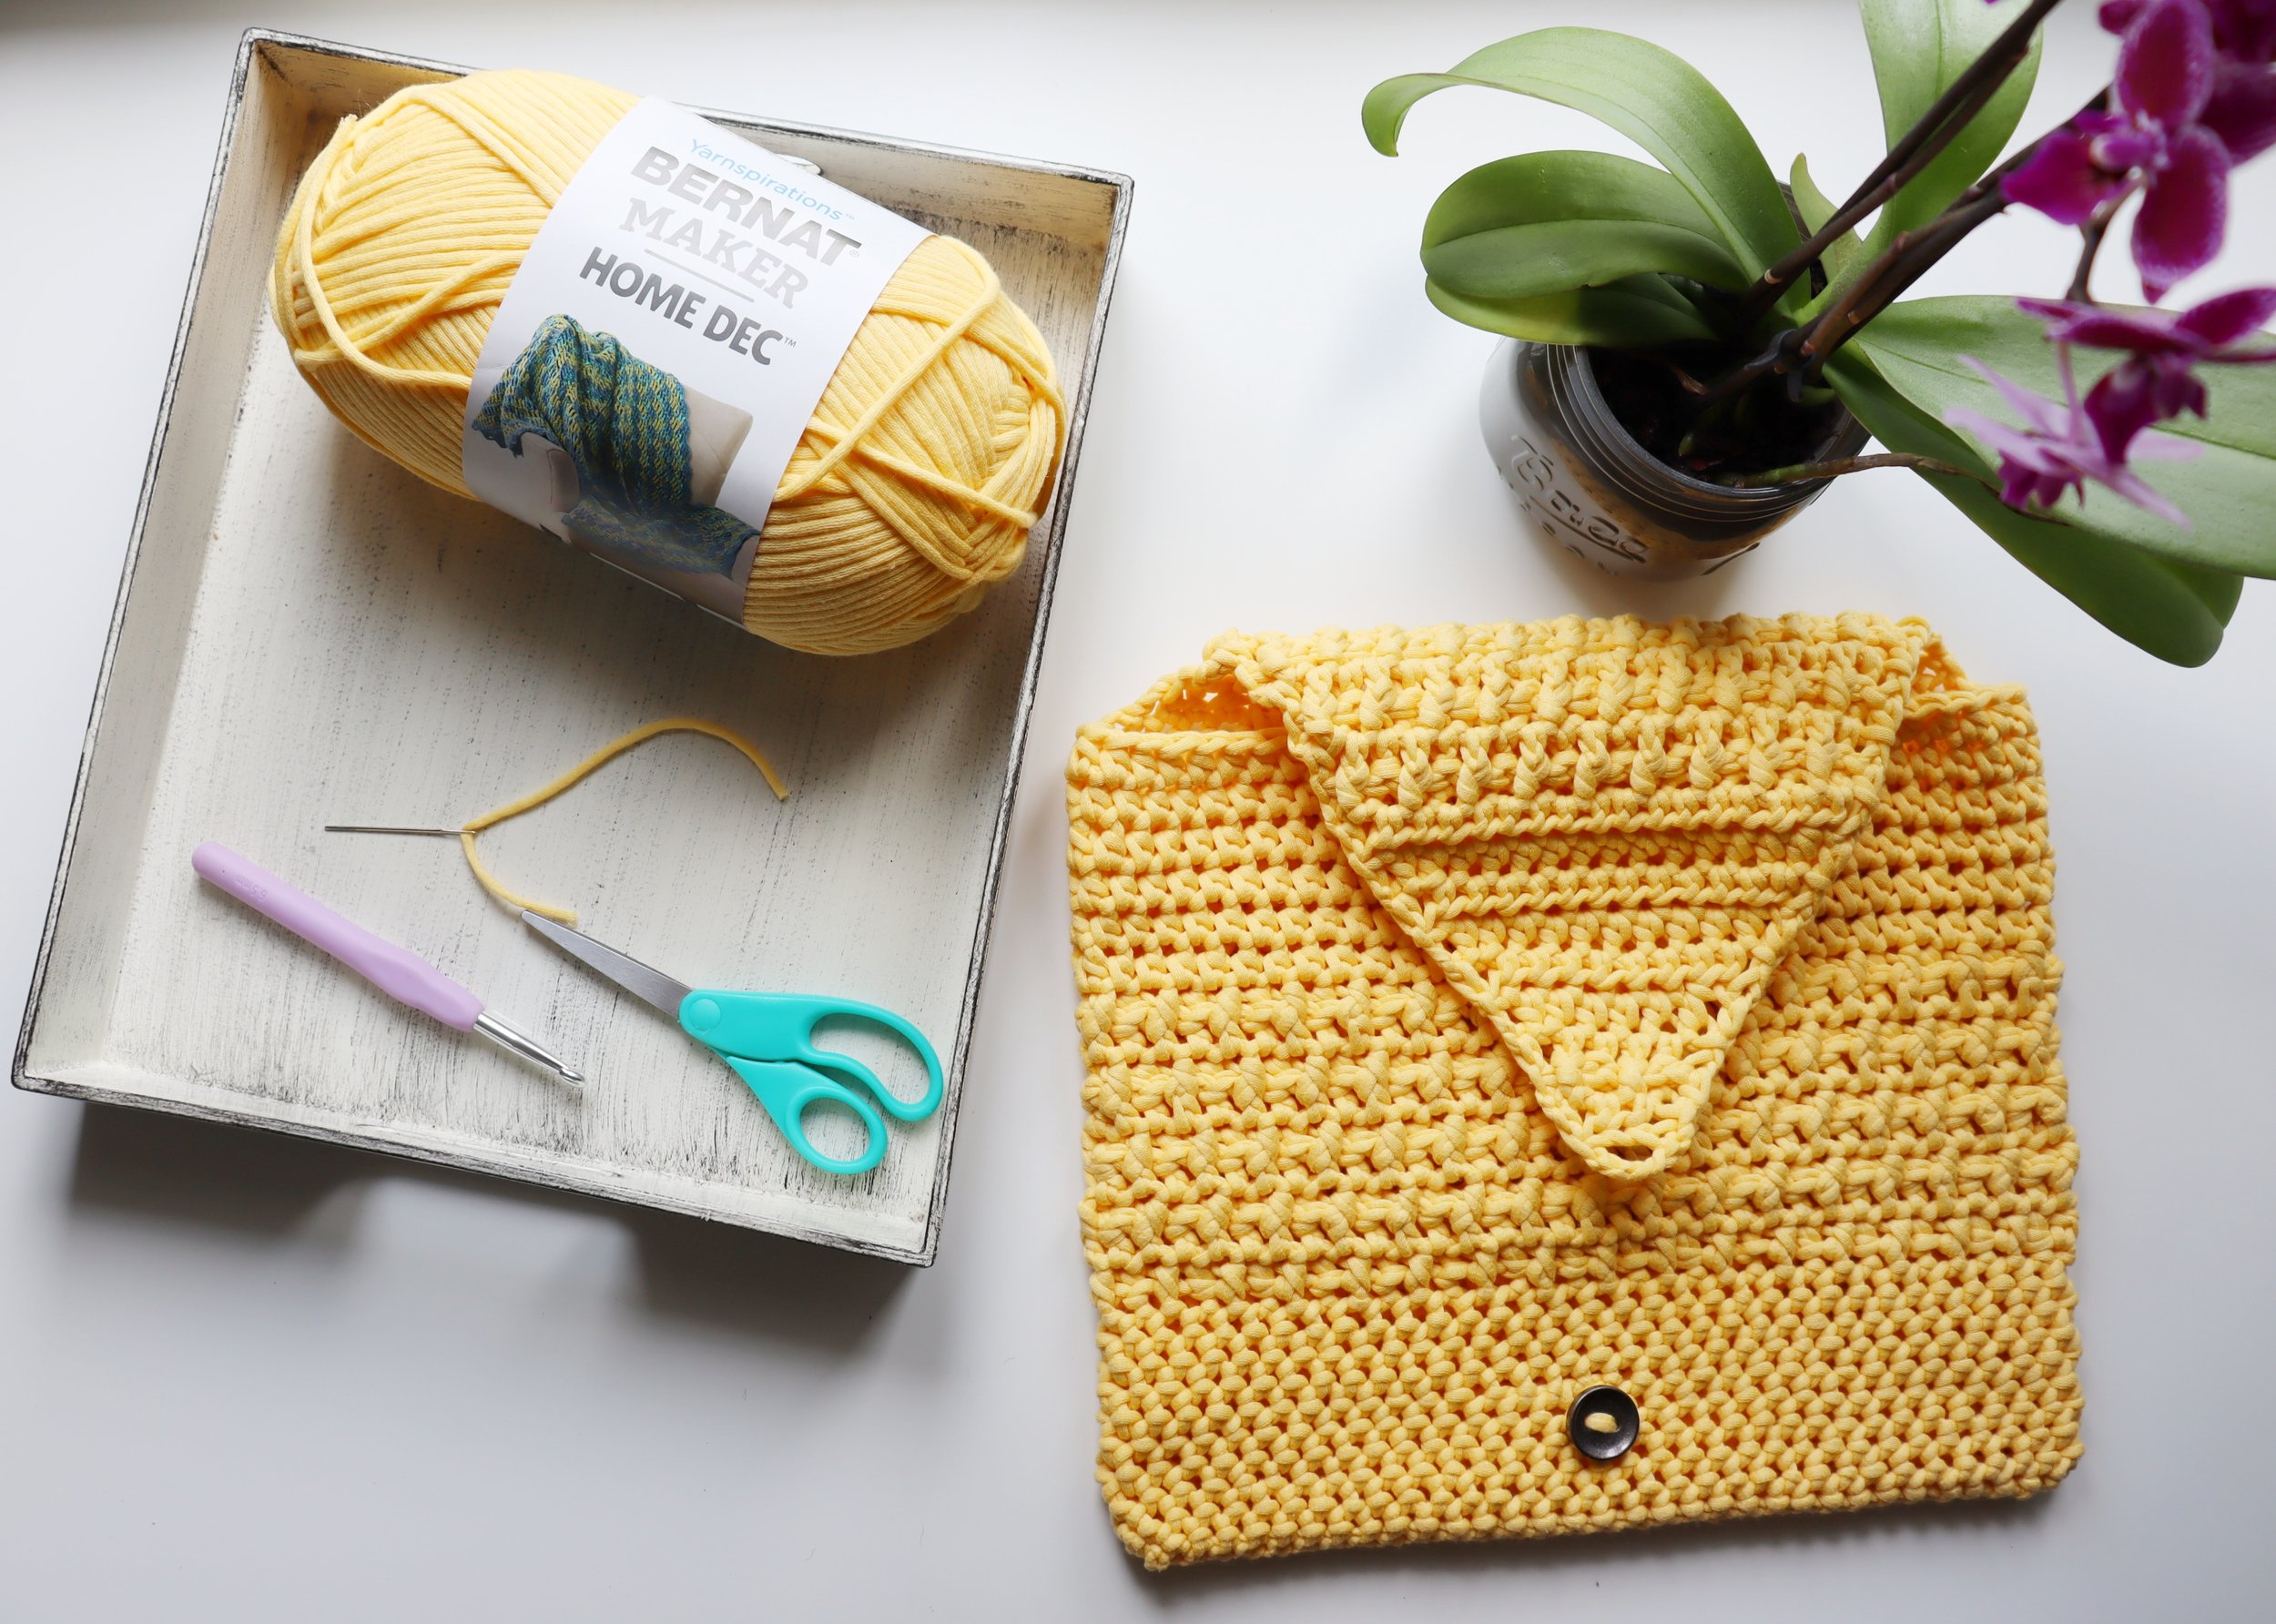
Anvlop Latop Sleeve
Back to school… Best time of the year for some and a dreadful new season for other.
Whether you are a parent or a guardian sending children back to school, a youngster going to university or a working individual, it is undeniable that back to school season changes the dynamic for everyone. Between the chaos of buying school essentials and preparing for the hectic work season (If you work customer service, you know what I am talking about.) We have our fair share of stress going around.
So, to begin this new school year I would like to share with you an easy pattern of a laptop sleeve that I have designed.
That design has been in my files for a couple of years; written, edited, and reviewed. The exact reasons for this standstill (or pause) are unknown to me but now I am putting it out now. YAYYY ME!
I call it Anvlop Laptop Sleeve. Anvlop is the Haitian creole translation of the word envelope. You will soon understand the name.
Note: This sleeve should fit laptops around 13”-15” wide.
To make this laptop sleeve, you will need:
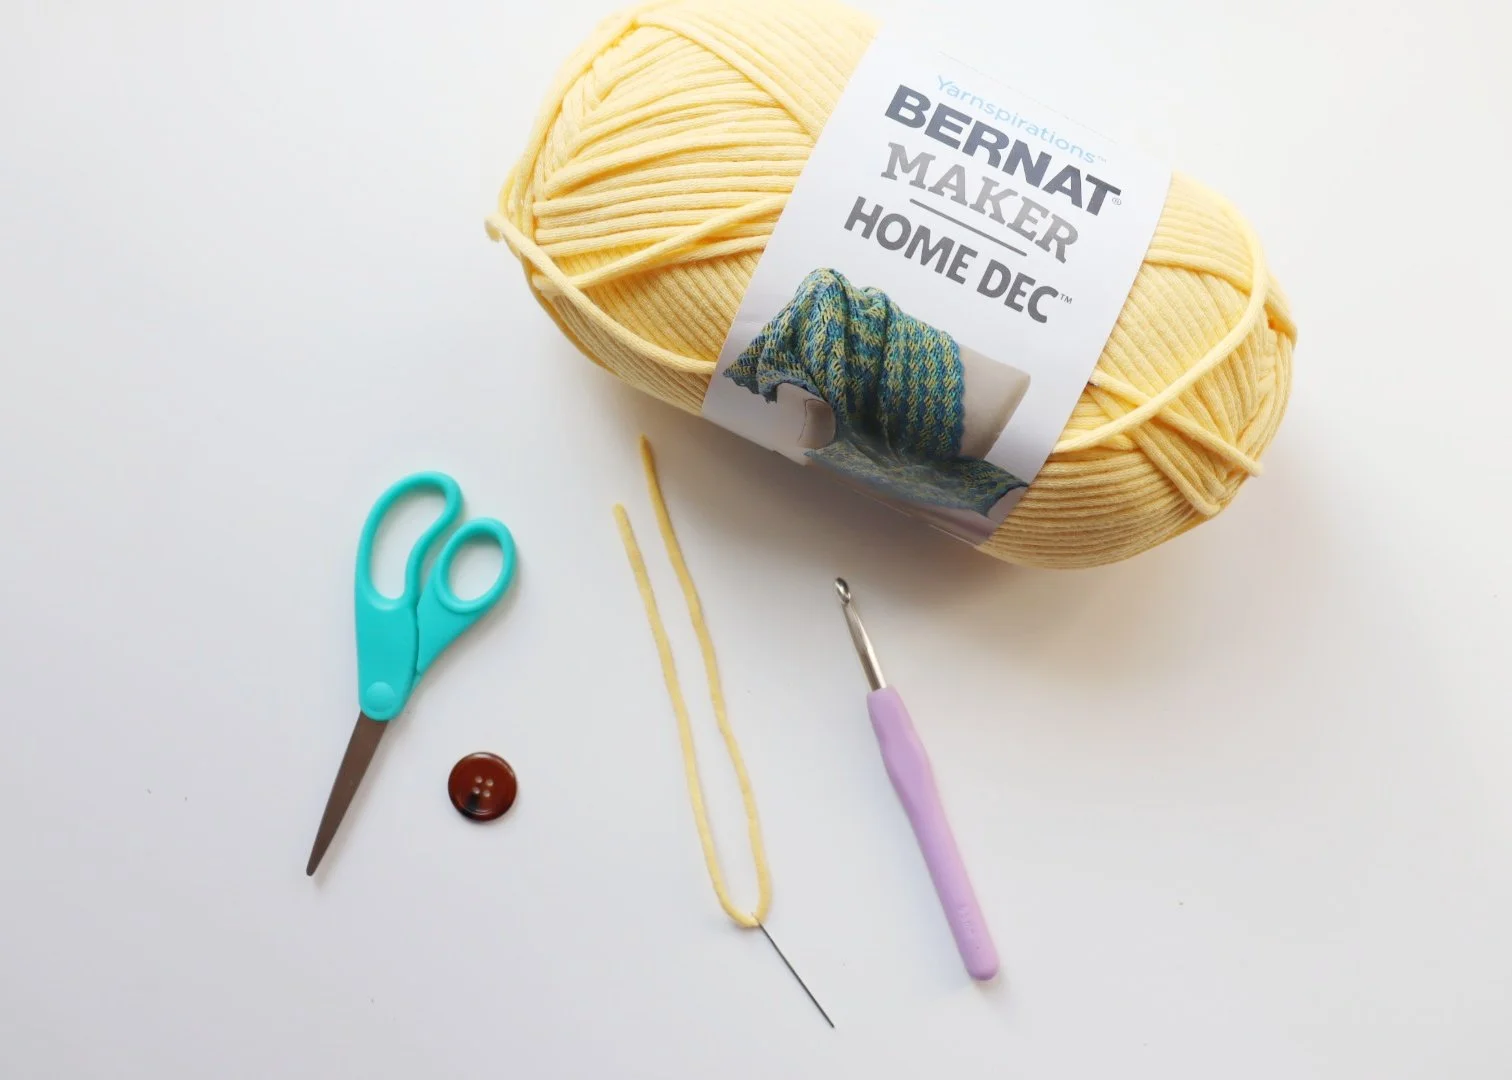
Yarn: Bernat Maker-Home Dec, 250g, 290m/317 yds; gold.
Hook: 6.5 mm (US K/10.5)
Others: scissors, 2 cm (0.8 in) button and a tapestry needle
To help you understand this pattern, you should note these abbreviations:
ch - chain stitch
hdc – half double crochet
sl st – slip stitch
beg st – beginning stitch
yo – yarn over
rnd – round
rep – repeat
**Special stitch**
FPhdc – back post single crochet: insert hook from the front around stem of the hdc in the rnd below from right to left, then complete st in the usual way (meaning like a regular hdc).
BPhdc – front post single crochet: insert hook from the back around the stem of the hdc in the row below from right to left, complete st in the usual way (meaning like a regular hdc).
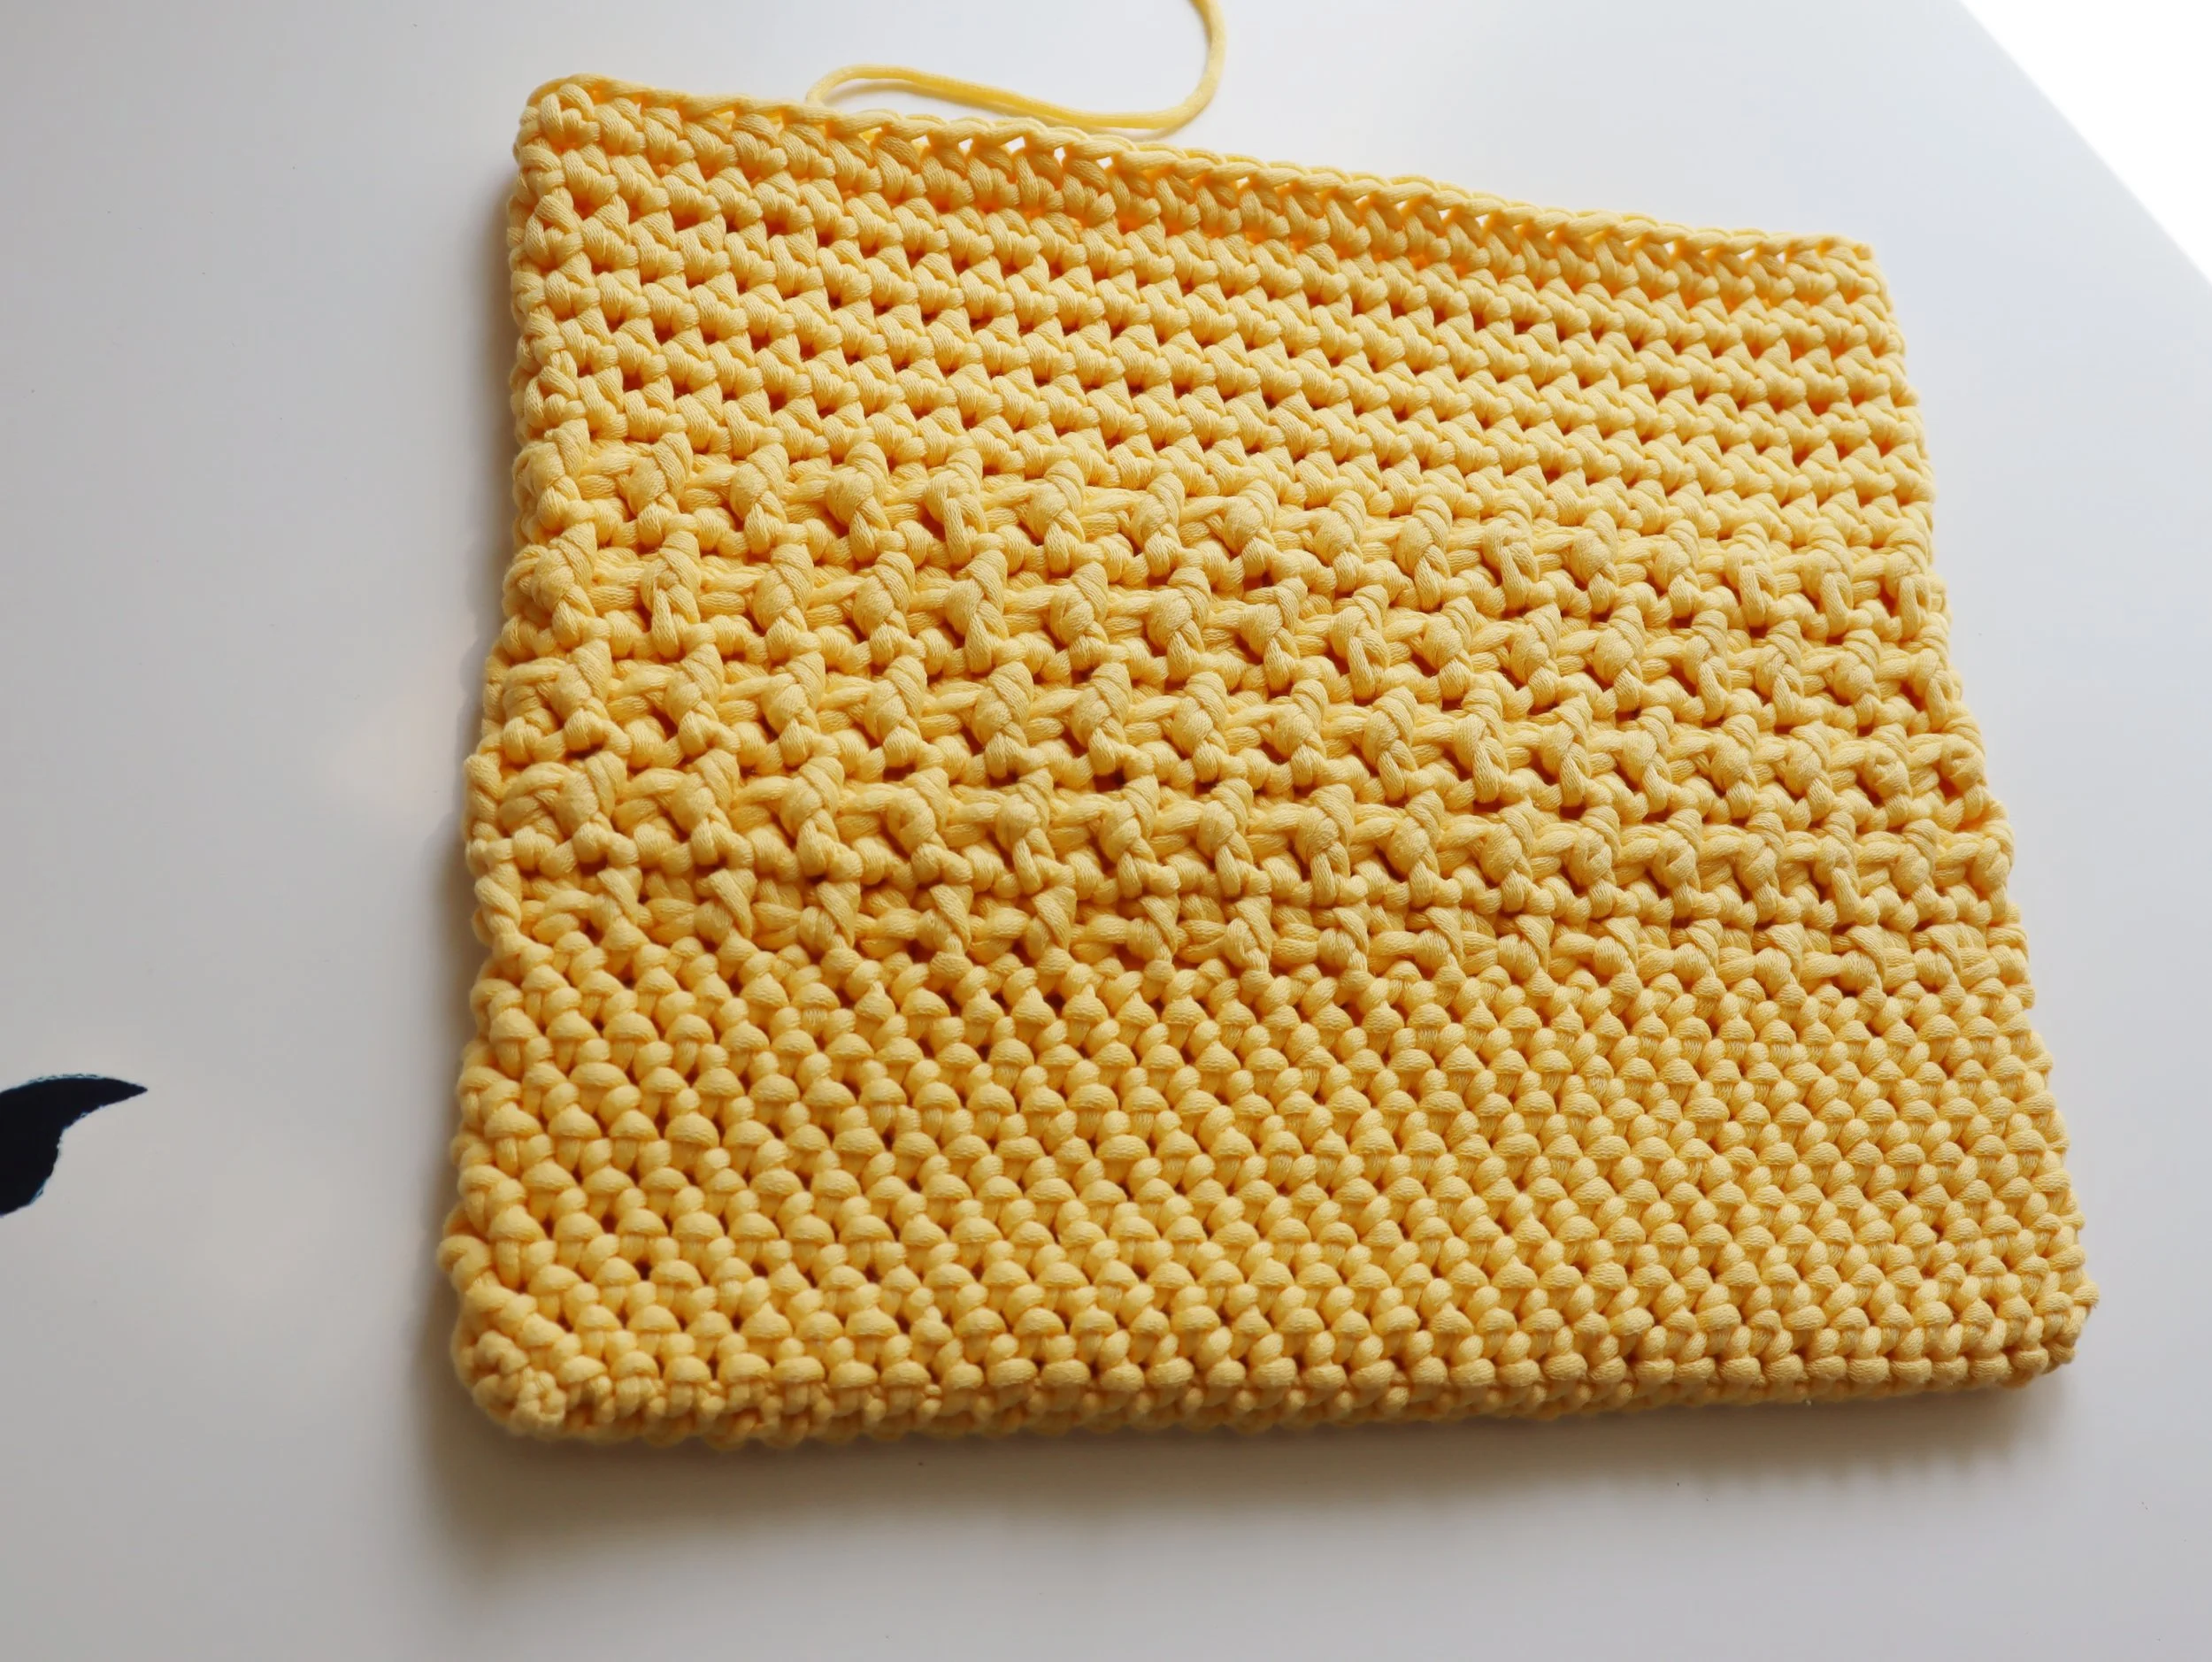
Part 1: Face & Back

Start with 35 chs
Rnd 1: hdc in 3rd ch from hook, hdc around, (working from both sides of ch-35); join sl st to beg st. (66)
Rnds 2-10: ch 2 (count as a st), hdc around; join with sl st to beg st. (66)
Rnd 11: ch 2, hdc in first hdc, *FPhdc around hdc in rnd below, BPhdc around hdc in rnd below; rep from* around, hdc in last st, join with sl st to beg st. (66)
Rnd 12: ch 2, hdc around; join with sl st to beg st.
Rnd 13: ch 2, hdc in first hdc, *BPhdc around hdc in rnd below, FPhdc around hdc in rnd below; rep from * around, hdc in last st; join with sl st to beg st.
Rnd 14: rep rnd 12.
Rnds 15-20: rep rnds 11-14.
Rnds 21-25: rep rnd 12.
Fasten off, weave in ends.
Part 2: The seal flap
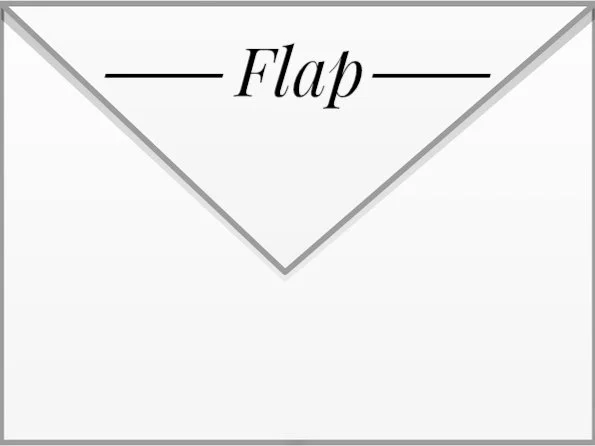
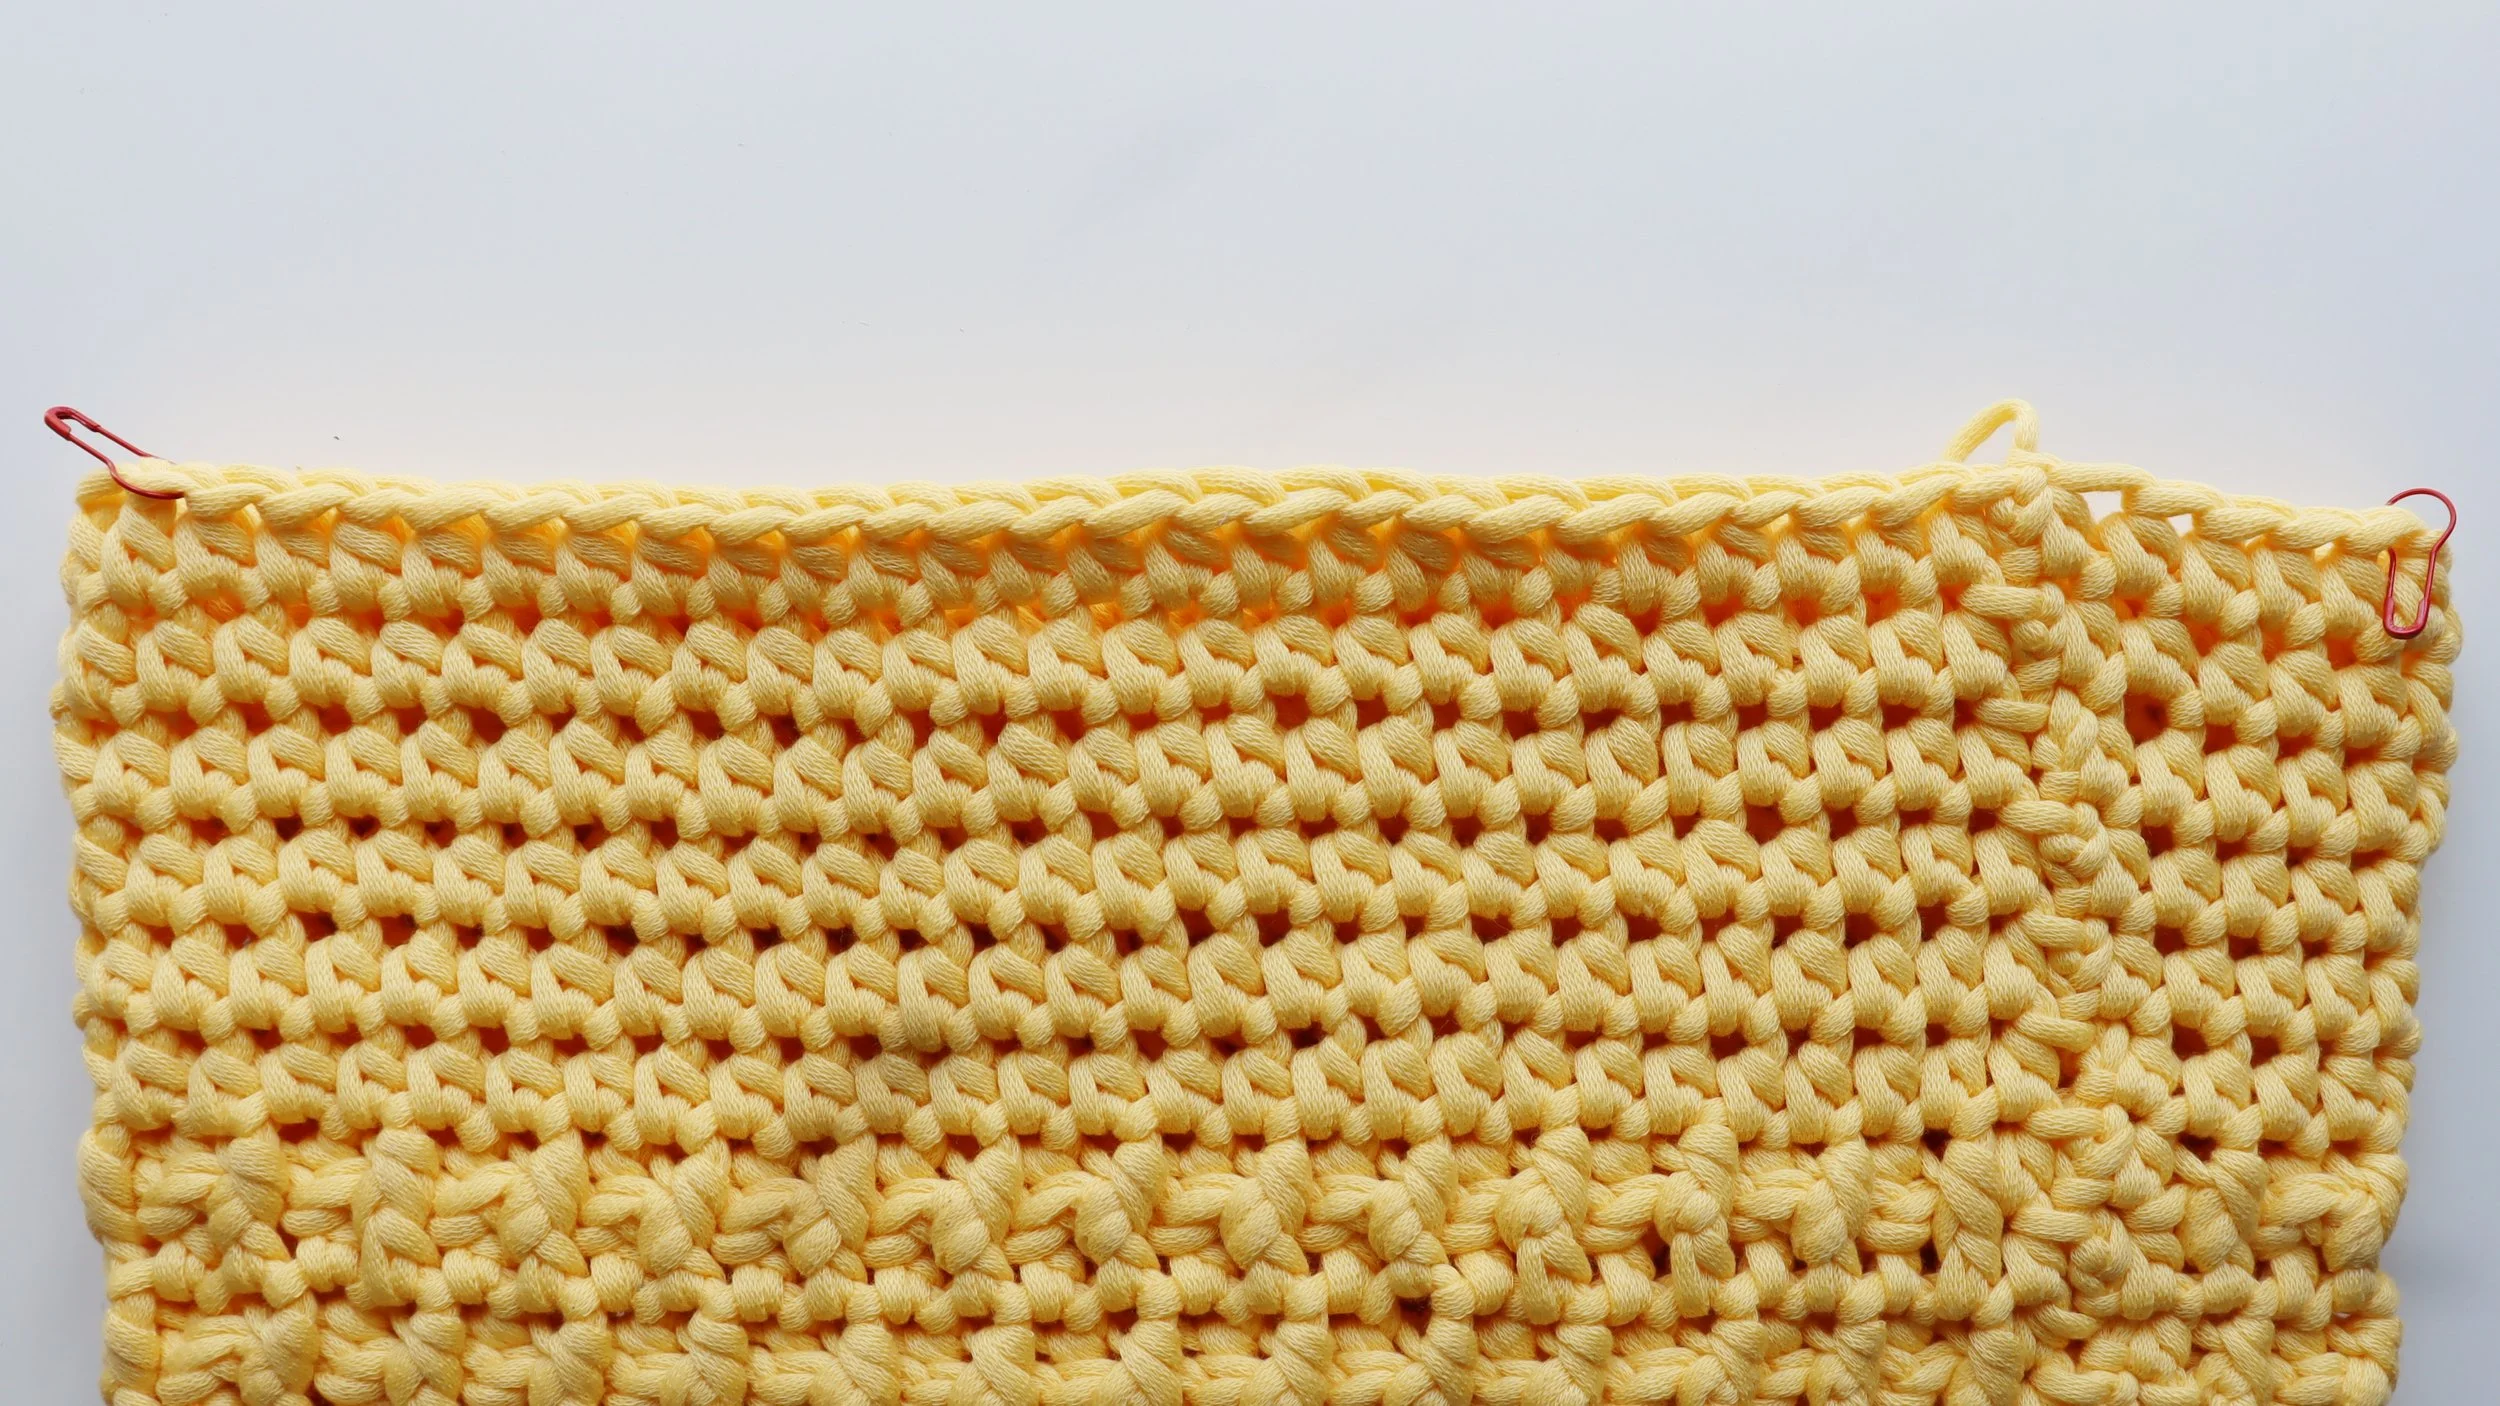
With right side facing, center 30 sts along one side to work the flap (The ch2 for each hdc row counts as a stitch)
Insert hook in beg stitch of right side facing half, yo, pull up a loop.
Row 1: ch 2 (count as a st), skip first st, hdc across, skip a st before last hdc. (28)
Row 2: rep row 1. (26)
Row 3: ch 2, *FPhdc around hdc in rnd below, BPhdc around hdc in rnd below; rep from* across, hdc in last st. (26)
Row 4: rep row 1. (24)
Row 5: rep row 3. (24)
Row 6: rep row 1. (22)
Row 7: rep row 3. (22)
Row 8: rep row 1. (20)
Row 9: rep row 3. (20)
Row 10-16: rep row 1.
Row 17: rep row 3. (6)
Row 18: rep row 1. (4)
Row 19: ch 4, sl st in ch-2 from previous row.
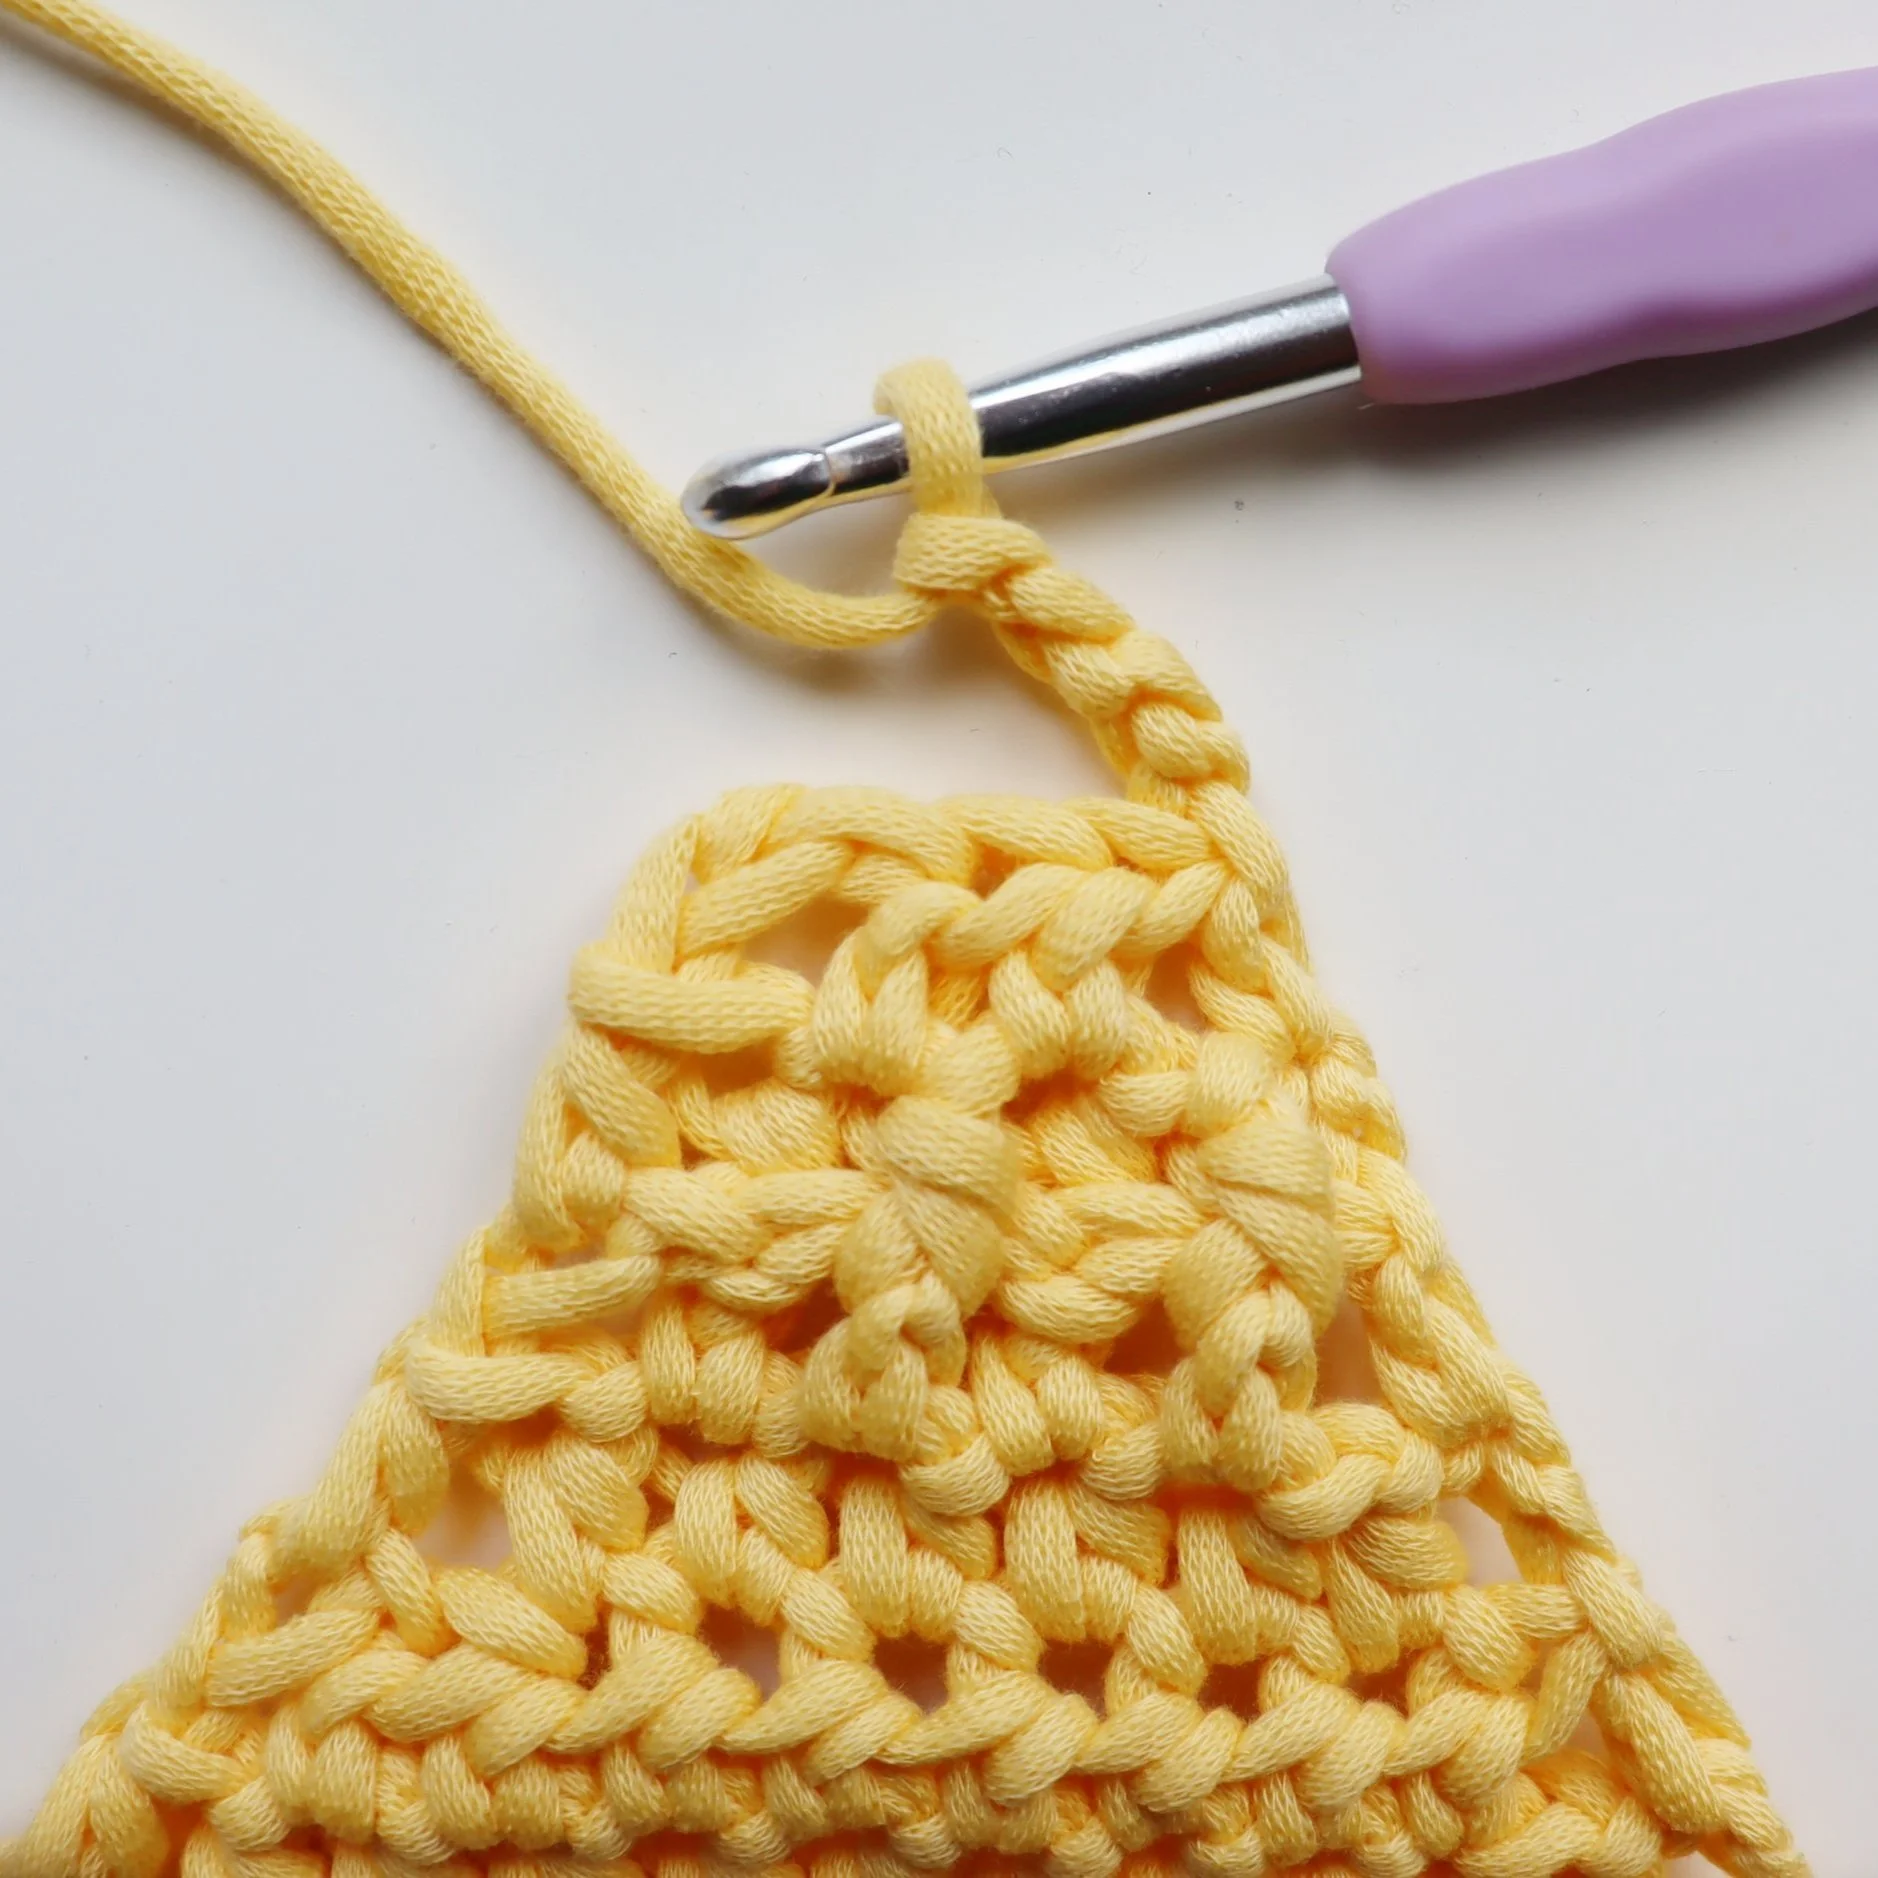
Fasten off, weave in all ends.
Add a button to finish off.
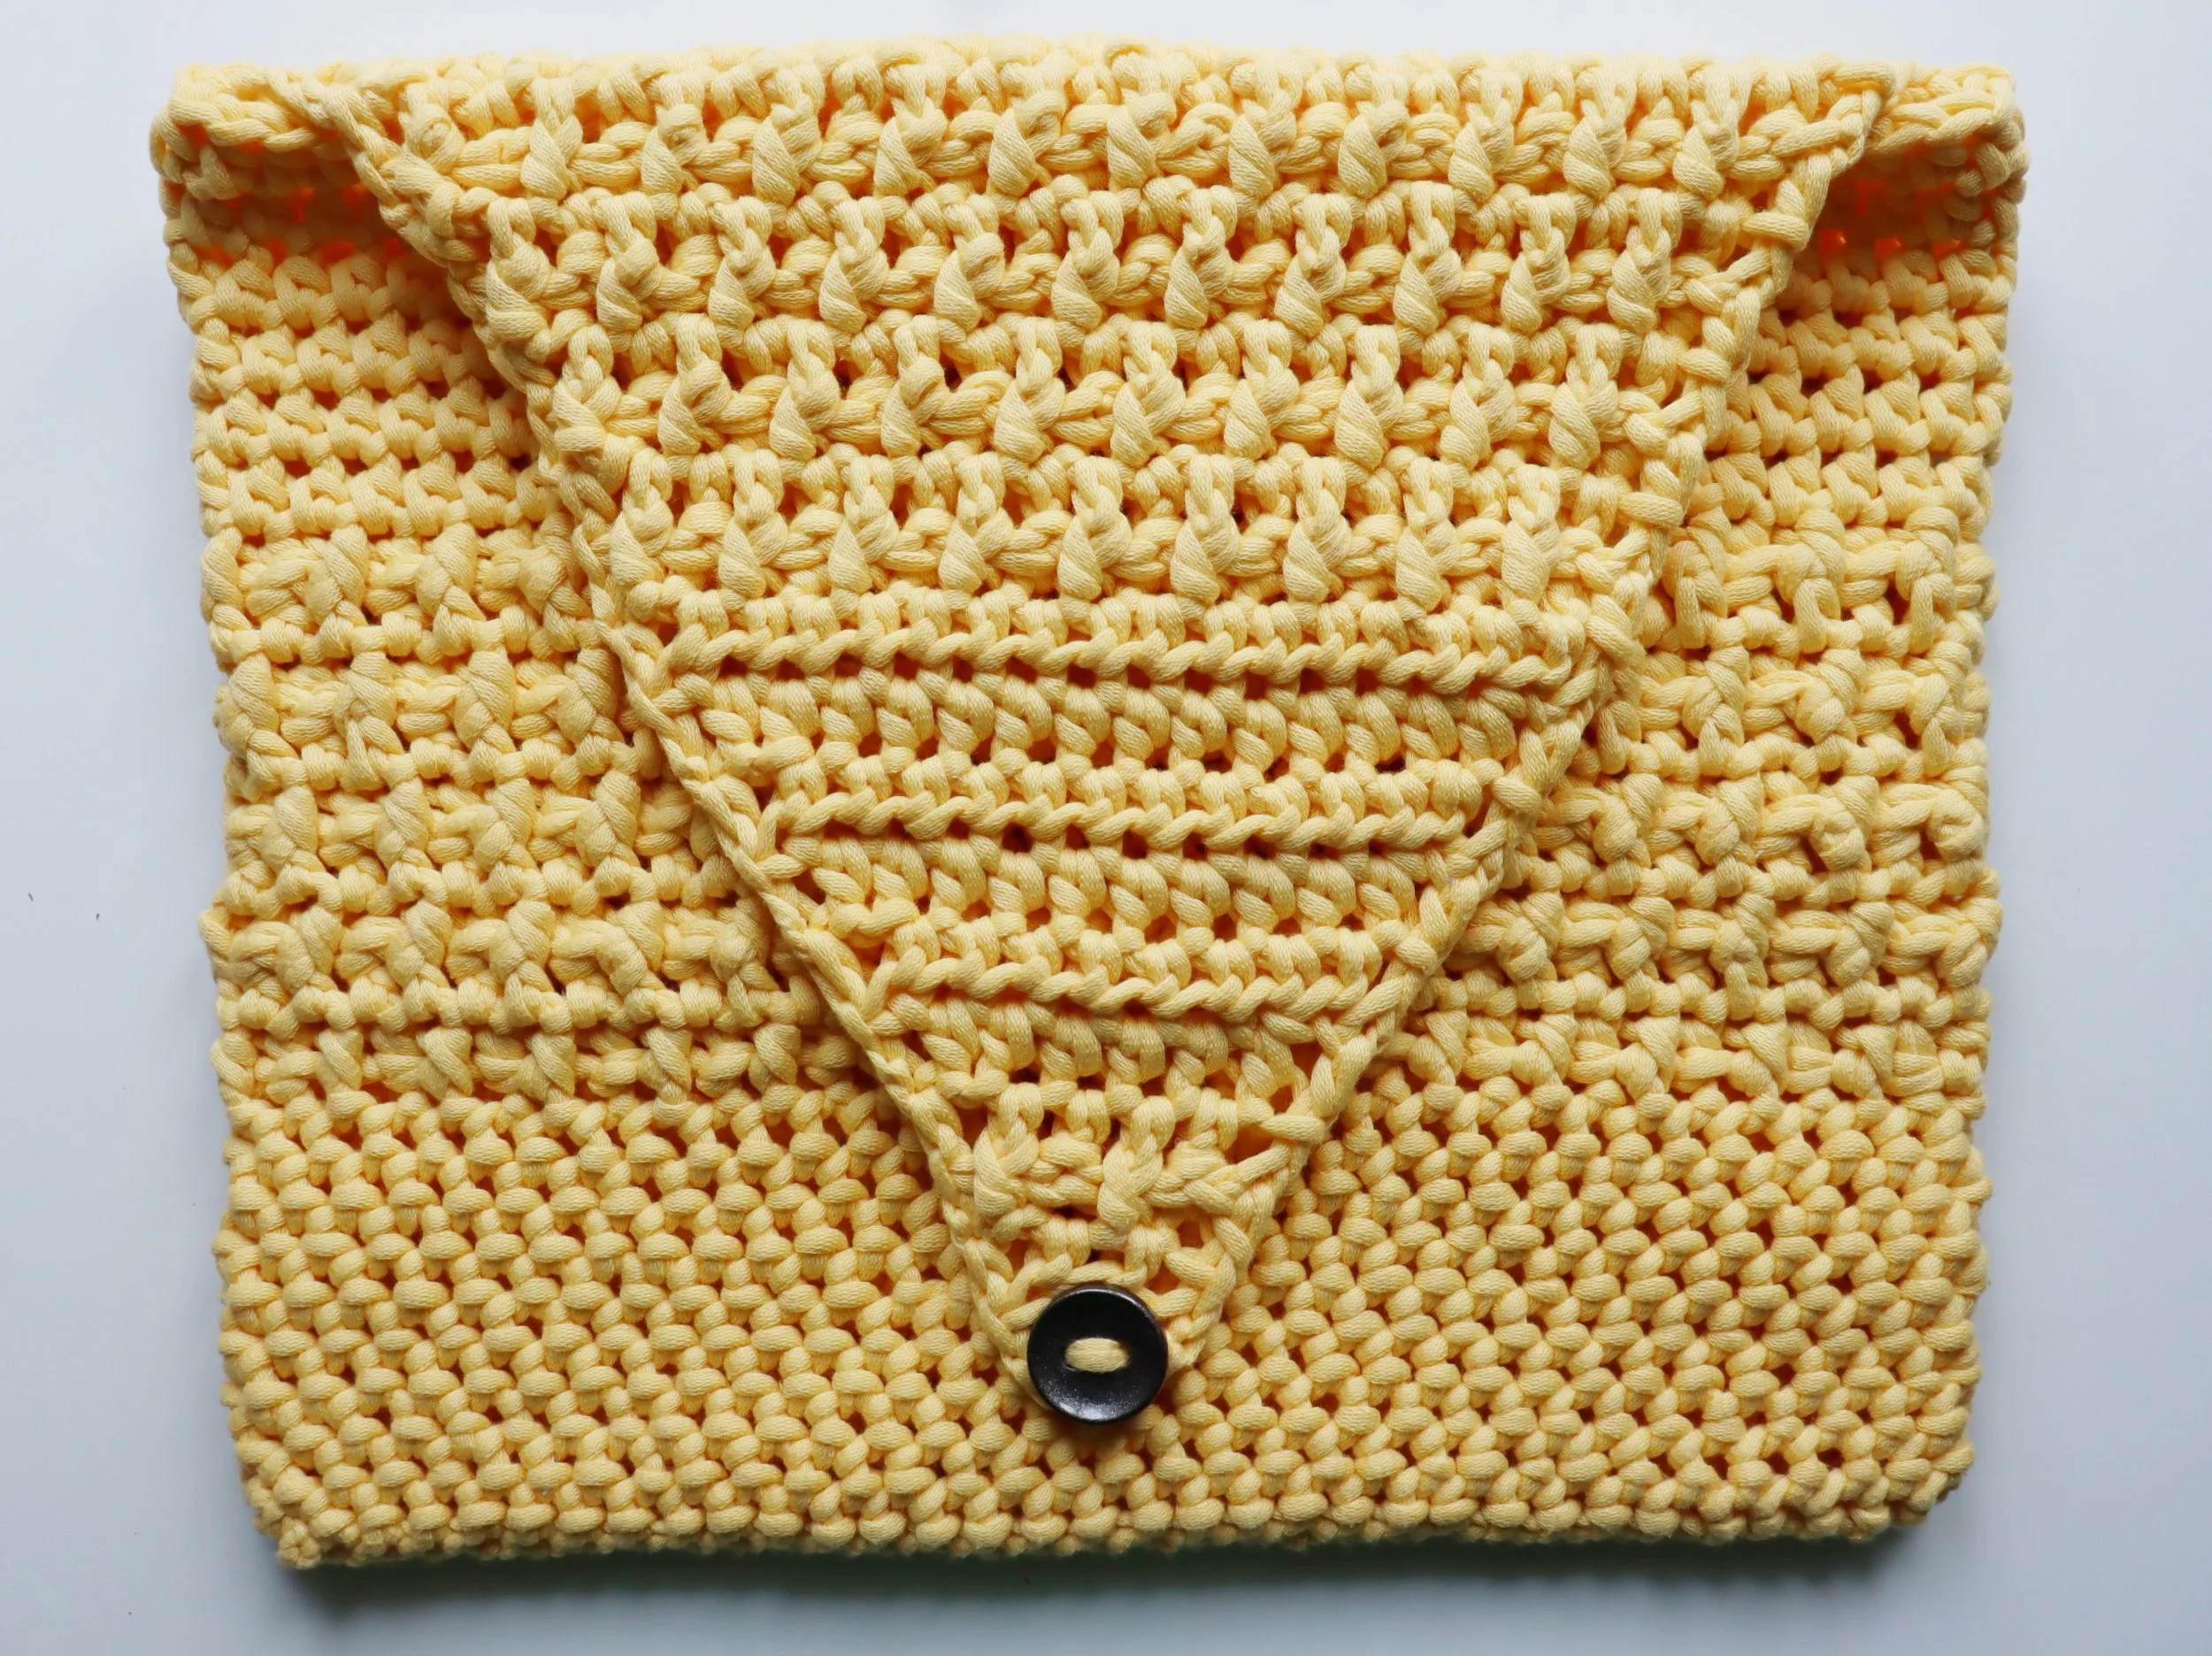
I hope you have enjoyed making the Anvlop laptop sleeve.
Bonne rentrée scolaire!